In today’s article, I am going to share how I found out that LEDs can sense Light. Although using LED as a light sensor sounds strange but it actually is true. I came to know about it as I was experimenting with Arduino and sensors. We all know IR LEDs can be used to sense IR light when used in reverse bias. So I tried using a normal LED to measure light and it worked!
I know it is not as sensitive as the LDRs and Photodiodes but still it is fun to try it out and we get to learn something which is never bad. I have also made a light sensitive switch using this LED as sensor.
Requirements:
- Arduino
- Breadboard with jumpers
- LEDs
- 100ohm resistor
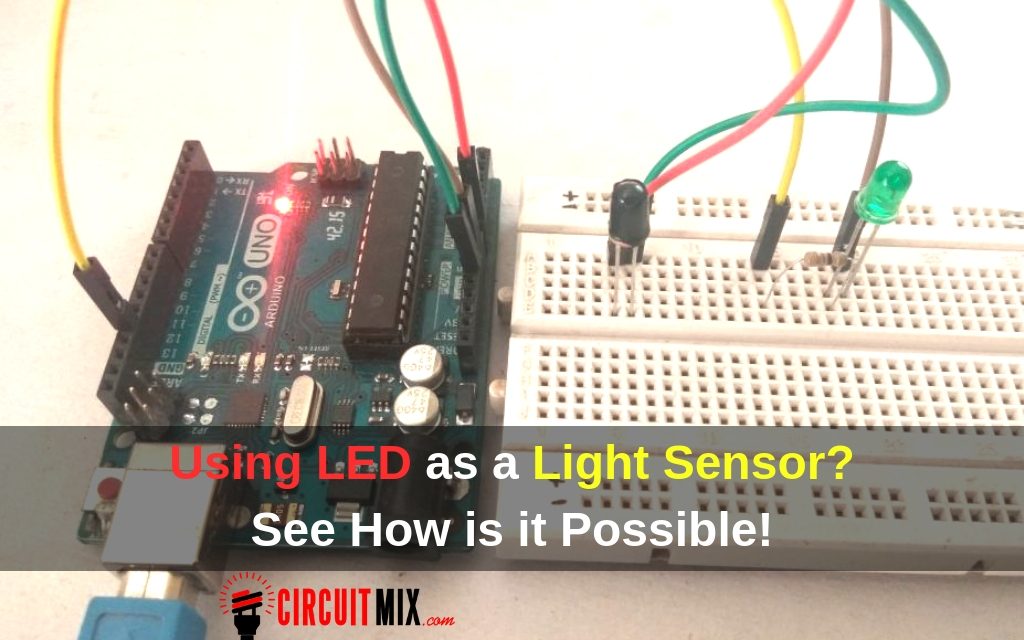
Making Connections:

First place the LED (Sensor) in the breadboard.
Note:- LED works different in Forward and Reverse bias. In Forward biased mode i.e. Anode to pin A0 and Cathode to GND. the LED gives High values in Light and Low values in Dark. and vice versa in Reverse bias.
After the LED is placed on the breadboard, connect it’s one pin to A0 (analog pin) of Arduino and connect its other pin to GND pin of Arduino.
Next place another LED on the breadboard and connect a 100ohm resistor to its Anode. Connect a wire from the resistor to pin 13 on Arduino (digital pin). Connect the Cathode of LED to GND of Arduino.
(The sensor LED seems black but I have just wrapped black tape around it)
When all the connections are done, the next step is to upload the code.
Coding:
For uploading code in Arduino we need an IDE.
Once you have set up the Arduino IDE you can start writing code. refer the code given below to make the Arduino sensor :
I have uploaded two codes one for sensing the Light, second to make a light dependent switch using the LED as sensor. In the second code you will find a conditional statement ” if( value > 100)” here the value 100 is set because my led works on that value, I have noticed different LEDs have different sensitivity levels so before making the switch circuit you will have to note the values of the LED in light and in dark. You can see the results in Serial Monitor.

First, open the first code and upload the code to Arduino, now open Serial monitor and note the values in dark and value after the light is applied. These values can be used to trigger the switch.
eg: If in dark the value is 100-150 and in light it is 50-100. then the LED on pin 13 can be turned on by editing the if statement as “if(value > 100 ) { digitalWrite(led,HIGH);}”. now the LED will turn on when in Dark and if the greater than “>” is replaced with less than “<” then the LED will turn on in light.
Demo video:
Also read interesting article about the proximity sensor.


